Well the Eldens are on a path to make ready for the 2015 season. The Formula Continental (FC) 87 Van Diemen (VD) takes its turn.
At the end of last year the starter bushing had been damaged and it was very difficult to engage the starter. The hydraulic coaxial throwout slave was leaking and the throwout bearing was rough;  throwout bobbin/spacer was wore and sloppy; the Tilton clutch disk was cracked requiring replacement. Also the Hewland MK9 has always been very difficult to shift since I
 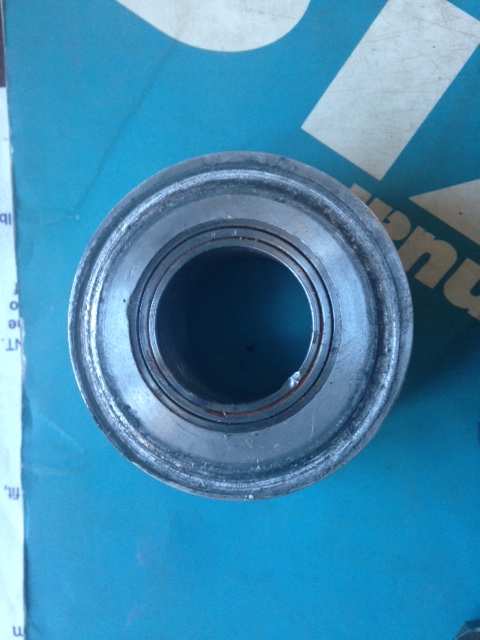 got it. So I sent the Hewland MK9 to Front Range Motorsports in Denver, Colorado to have J.D.McDermott and his staff rebuilt it. J.D. inspected it found the ring and pinion okay for a 30 year old car. Did find some major wear on the brass shift forks and the shift rod detent’s were “strange”. Pretty sure fixing that will be a massive improvement in this cars shifting. Now we await that to return.

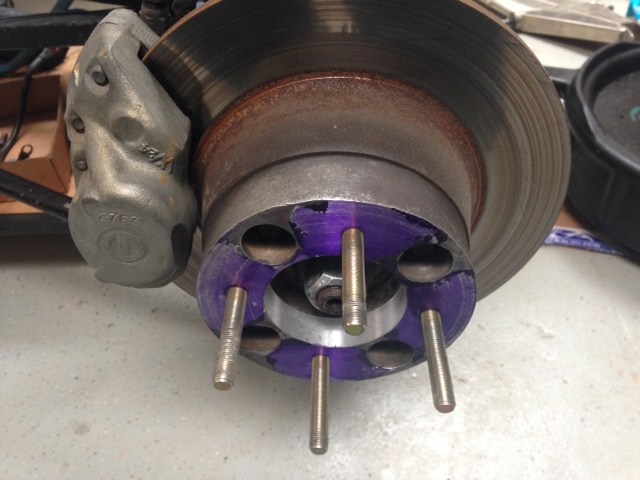
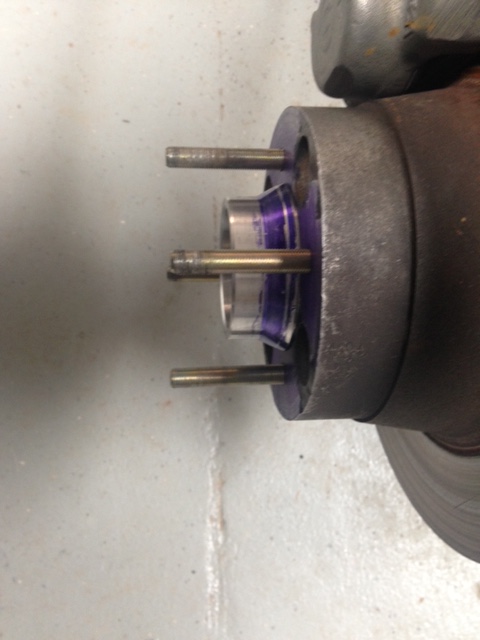
Van Diemen Bell-Housing
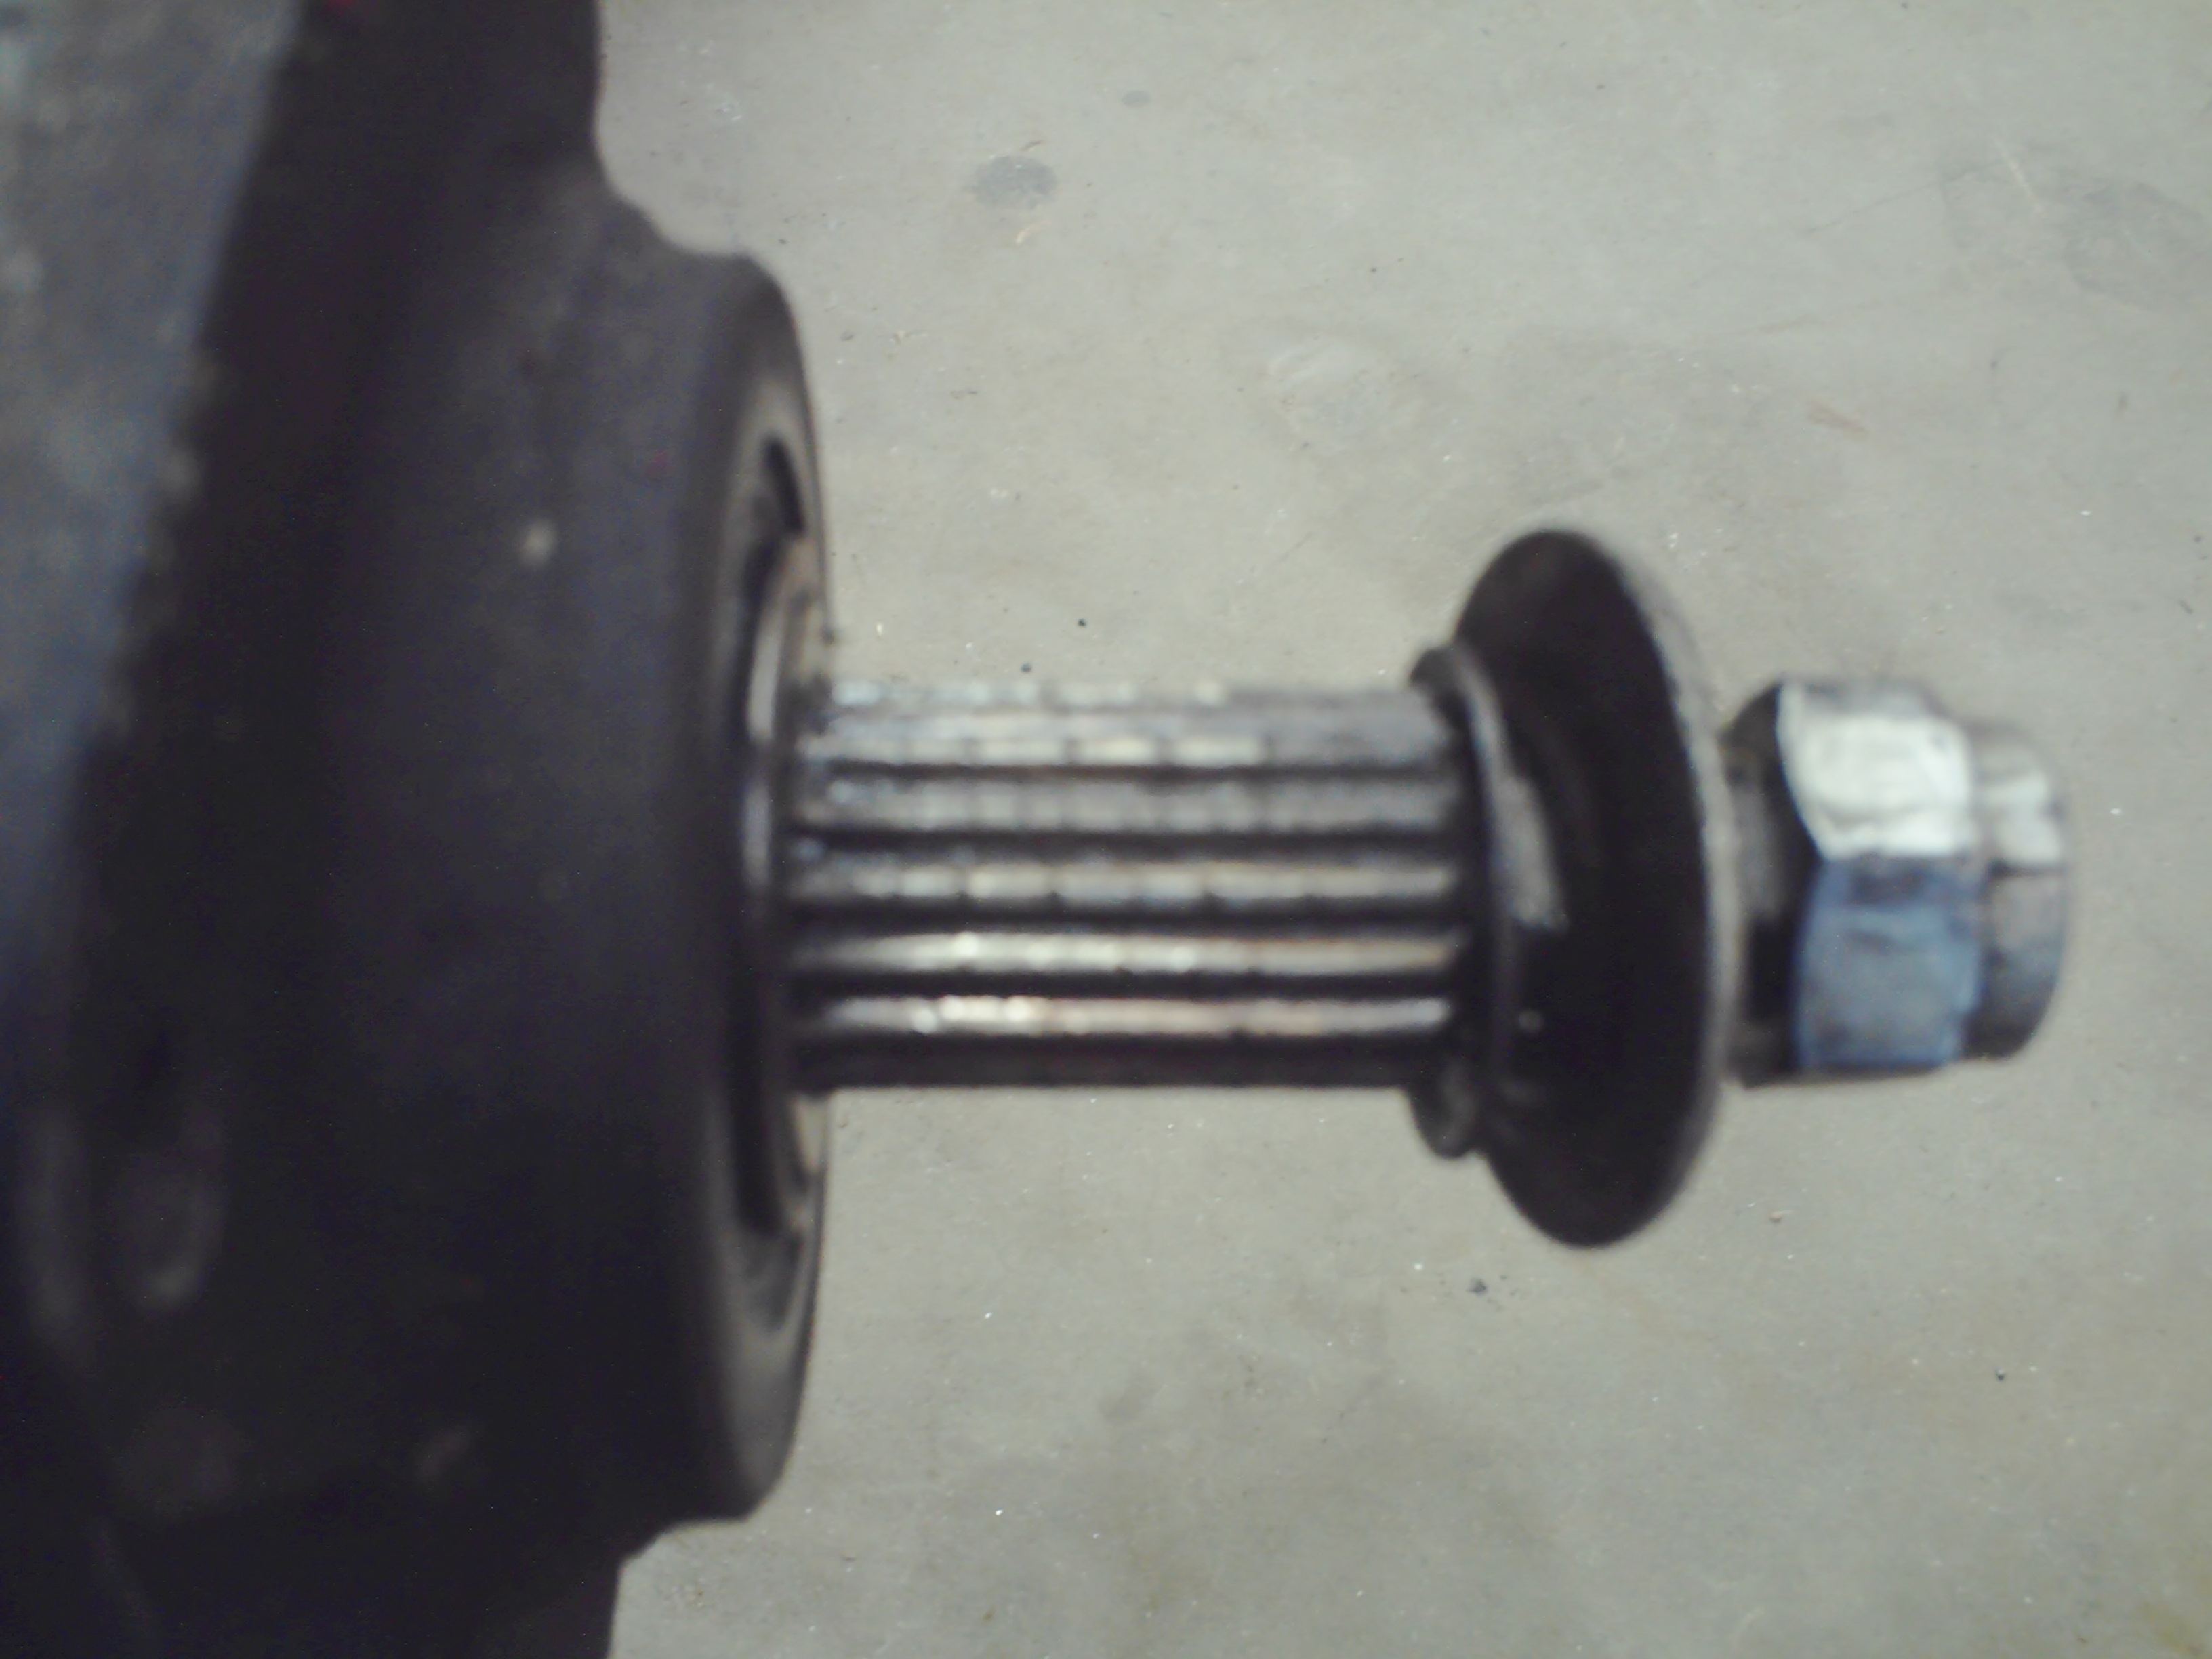
Things I can work on: The starter bushing fell out of the Magnesium (Mg) case, a brass bush. This appears to be a bad repair from earlier in this cars life. I would bet that the Mg case was bored originally for the shaft of the starter and since the Mg is soft versus the steel it wore out. So I believe someone put this brass pushing in but with some very poor pipe threads to hold it. So by looking at it I decided to see if the new Mill/Drill I added to shop could fit the bell-housing. On this VD, the bell-housing is also the oil sump and suspension mounts, so it is a rather large assembly. Went to the lathe and created a mandrel to center the hole for the starter versus the face of the bell-housing. Put in mill and bored the hole to allow a “oilite” bushing 5/8″ OD bushing to be pressed into the Mg case.
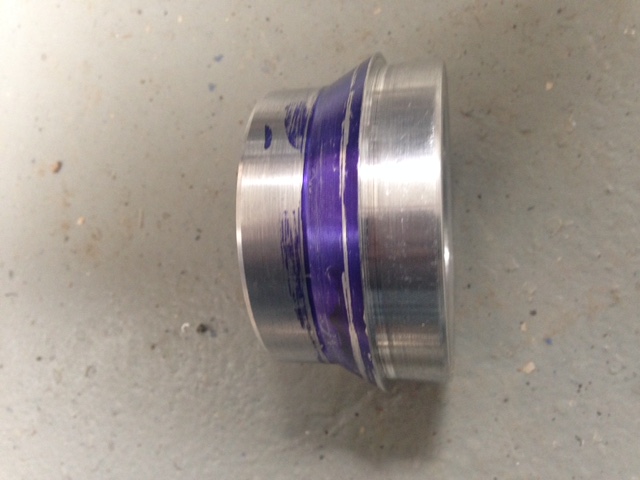
On the lathe made a new throwout bobbin/spacer sleeve that was wore out. The original was a steel sleeve and I replaced it with a Bronze one.
Talking with J.D. about spares for this FC he suggested Universal Racing Services in the UK:
http://www.universalracing.co.uk/
Contacted them and they maybe able to help on some parts when the time comes.